Step-by-Step Guide on How to Use TuneCable Handy Tools
Not only does TuneCable's convertion function assists users in acquiring audio content from various platforms and converting it into standard formats, it also boasts a host of advanced tools. To access the comprehensive Tools section, one need only navigate to it via the left menu bar in any of the TuneCable audio converter program interfaces. The exquisitely designed Tools interface is displayed below:

*Note:
Directory
Format Converter
Format Converter has the function to convert local audio files to MP3, M4A, FLAC, WAV, AIFF, or OGG formats and exports songs at different qualities and channels.
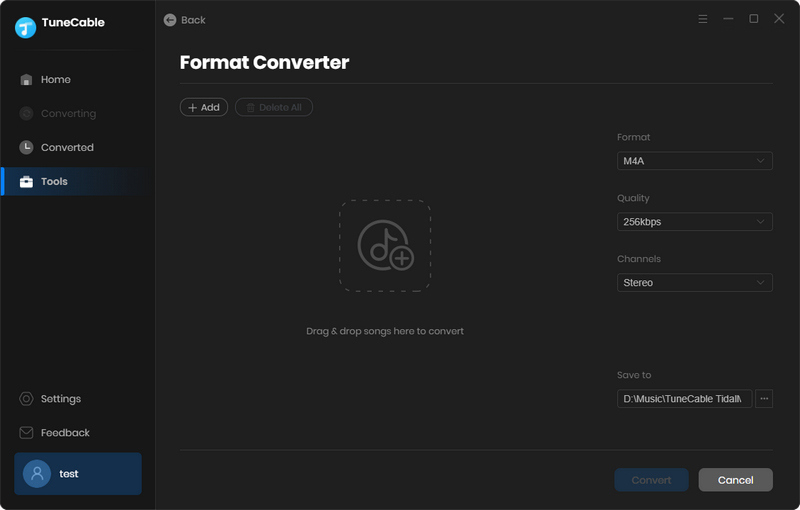
Step 1. Navigate to "Tools > Format Converter" on the start-up interface. Then you can import local audio files to the converter by clicking "+Add". Another way is to drag and drop the wanted songs to TuneCable directly. The supported source format includes MP3, M4A, M4B, WAV, FLAC, OGG, AIFF, and M4R.
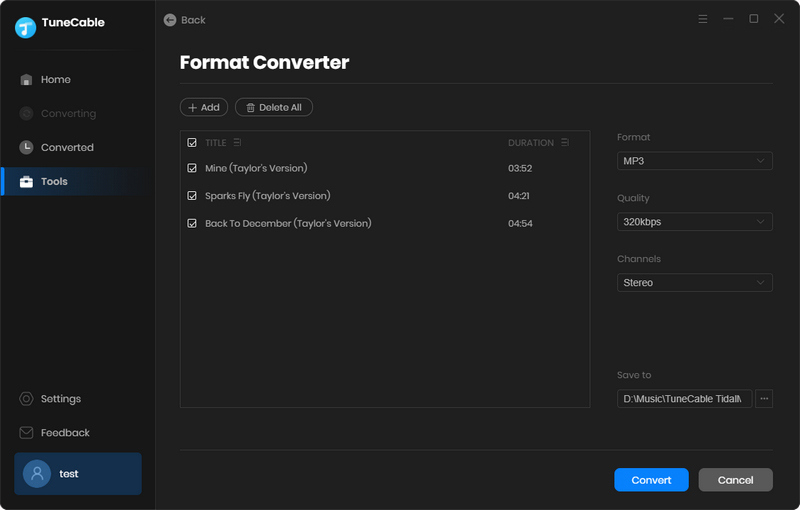
Step 2. Move to the lower area, select an output format, sound quality (128kbps, 256kbps, 320kbps), and output path. Then click on "Convert" to start the conversion.
Burn CD
TuneCable provides the function to help you burn music to CD more conveniently, step into this part to use the tool on TuneCable now.
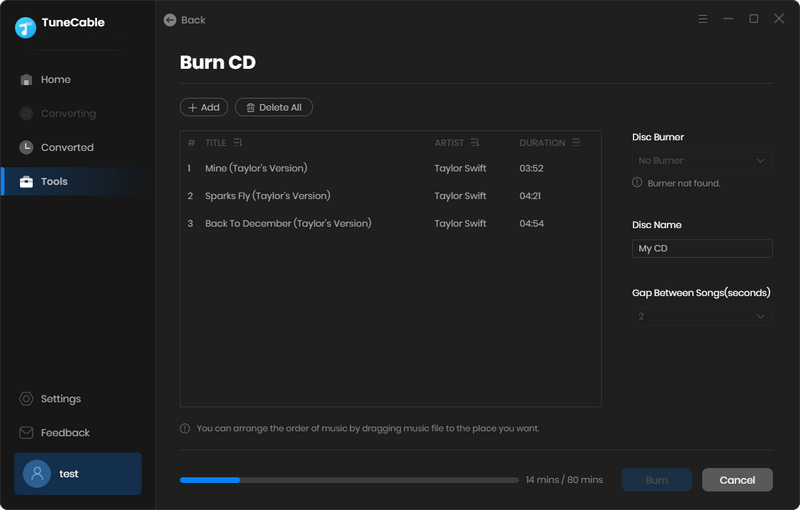
Step 1. Navigate to "Tools > Burn CD" on the start-up interface. Then you can import local audio files to the converter by clicking "+Add". You can also drag and drop the wanted files to TuneCable.
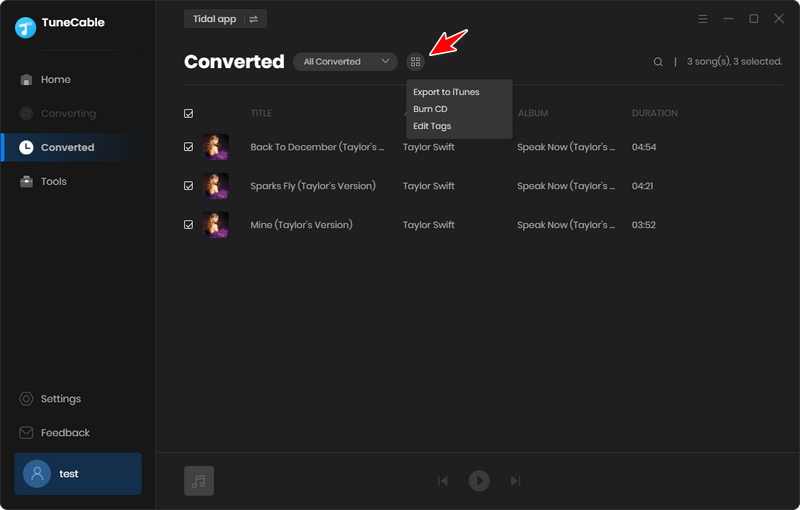
Tips: If you want to burn the converted Tidal songs to CD, go to "History", pick the songs, hit the four-square icon above the items, and select "Burn CD".
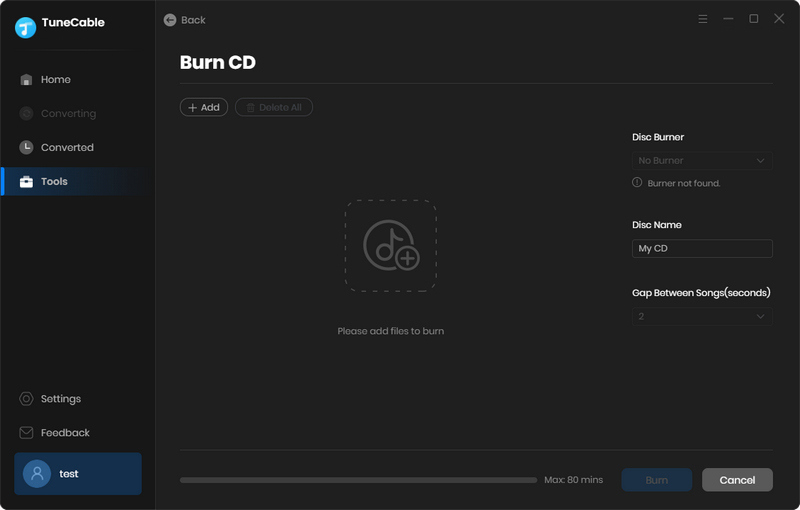
Step 2. Insert a CD into your computer. Change the parameters on the right sidebar. Then you can burn these added songs to the CD by hitting on "Burn".
Tag Editor
If you want to add some metadata information to your local audio files, you can use TuneCable too. It can smartly identify tags and allows you to add tags or modify existing information.
Step 1. Navigate to the "Tag Editor" tool under the "Tools" section. Drag and drop your local audio files to TuneCable. The "+Add" button also allows you to upload your local files.
Tips: If you want to make changes to the converted songs, go to "History", pick the songs, hit the four-square icon above the items, and select "Edit Tags".
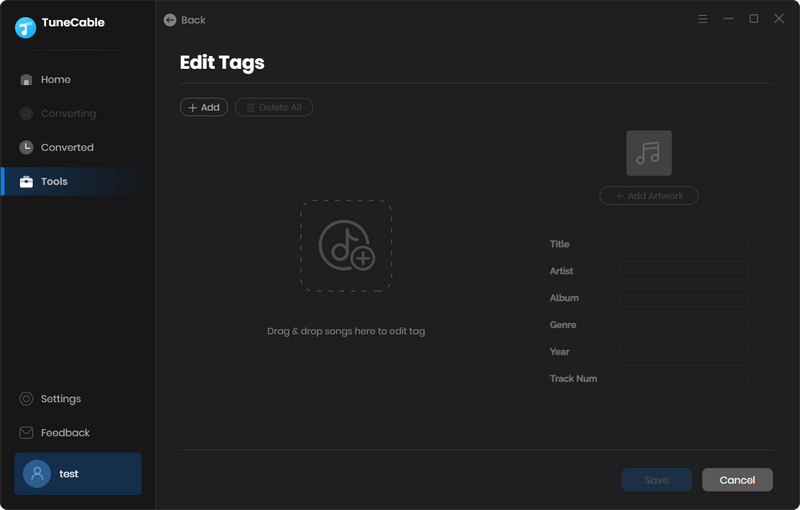
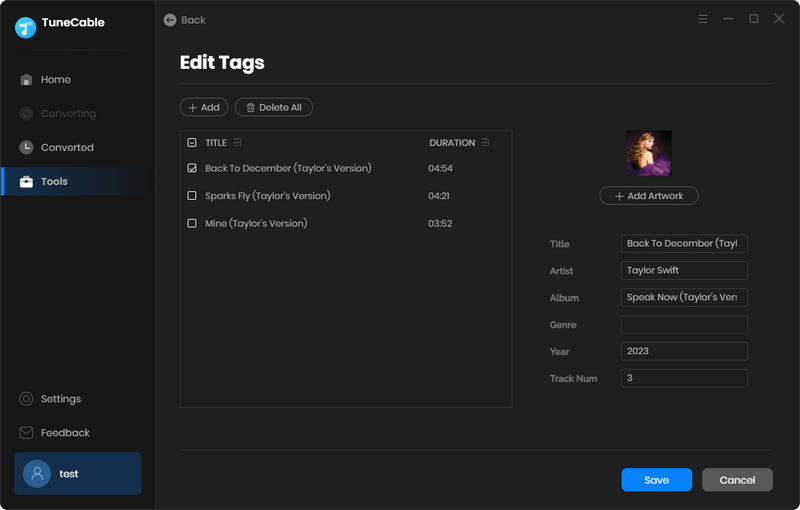
Step 2. TuneCable will show the tags on the files. You can change Artwork, Title, Artist, Album, Genre, Year, and Track Num according to your need. Then click "Save" to apply all changes.
AA/AAX Converter
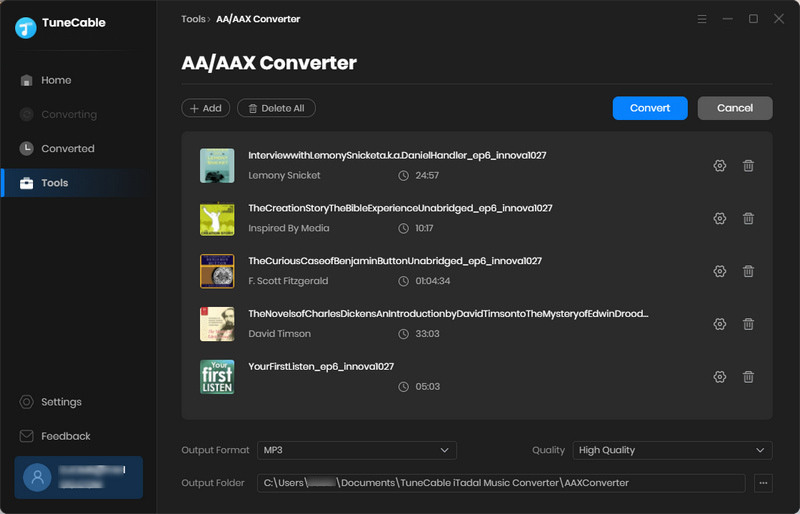
TuneCable also assists users in the conversion of AA/AAX audiobooks into M4A, M4B, and MP3 formats.
Step 1. To begin, navigate to the left side of TuneCable and click on "Tools > AA/AAX Converter" to access the conversion tool.
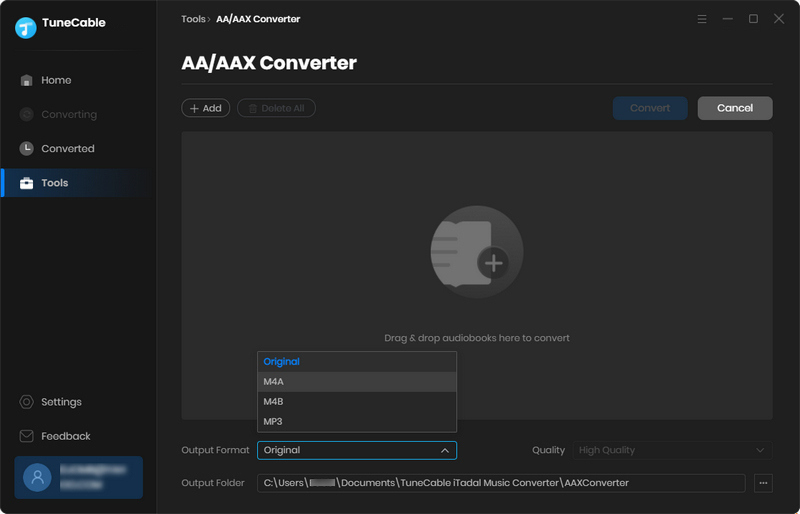
Step 2. Click on the "+Add" button to upload audiobooks from your local computer. Afterward, you can specify the desired output format, quality, and saving path, before starting the conversion process.
Step 3. Click on the "Convert" button to to start the conversion.
Audio Editor
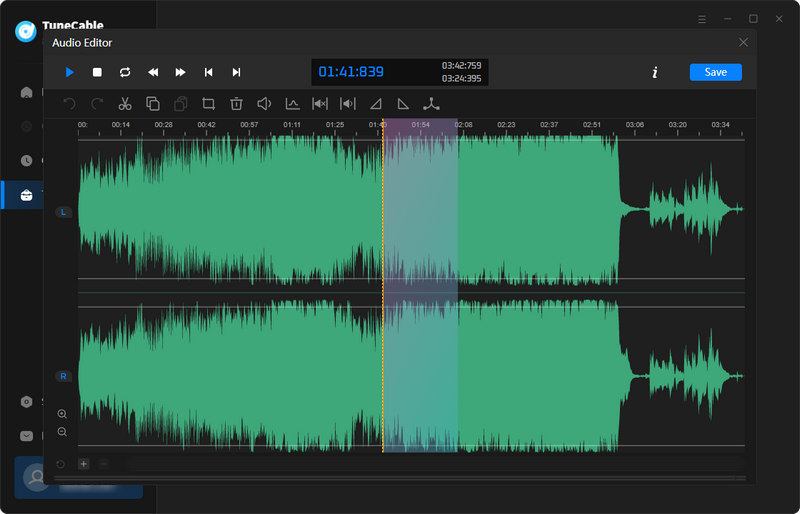
TuneCable focuses on basic request of eidting music tracks, such as Cut, Gain, Nomalize, Insert Silence, Remove Silence, Fade In, Fade Out, Speed Up, Slow Down, and so on.
Step 1. On the left side of TuneCable, go to "Tools > Audio Editor" to open this tool.
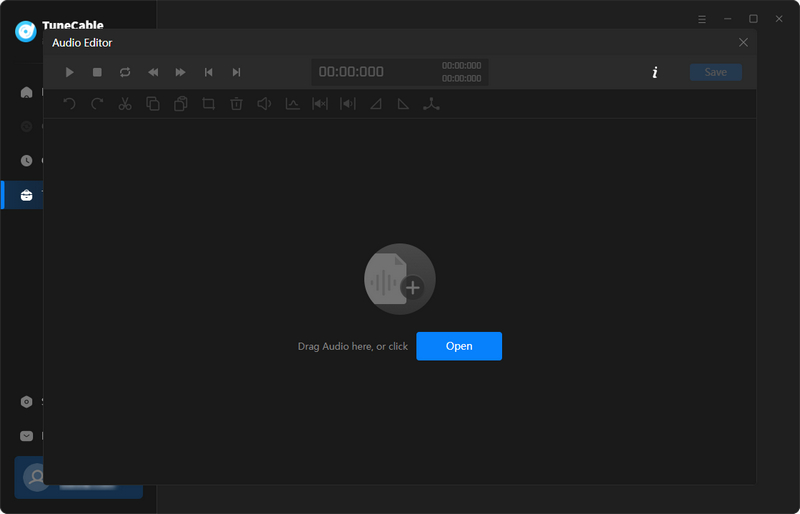
Step 2. Click on the "Open" button to upload songs from the local PC. You can edit the song according to your preferences.
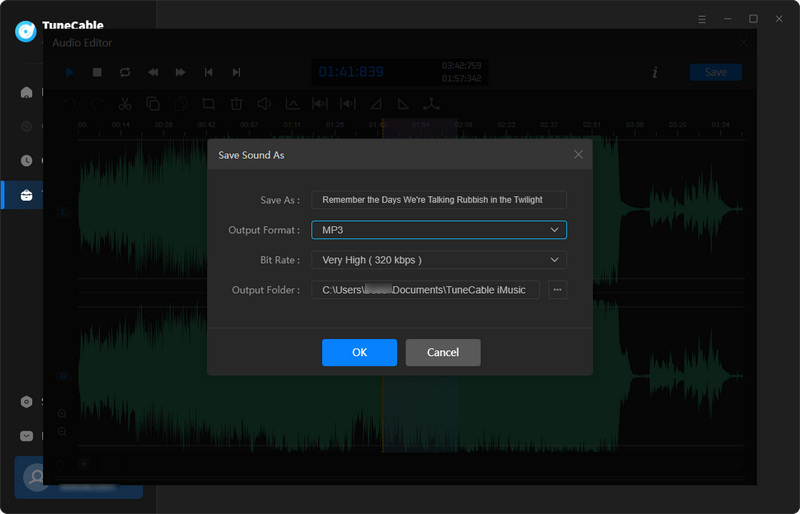
Step 3. When it's done, tap on the "Save" button. You are allowed to rename the song and set the output format (MP3, M4A, FLAC, WAV, OGG, AIFF), bit rate, and output folder before exporting the song.
AI Audio Splitter
There is another helpful tool called AI Audio Splitter, which supports separating audio into vocals and accompaniment.
Step 1. Click the "Tools" tab, and then open "AI Audio Splitter".
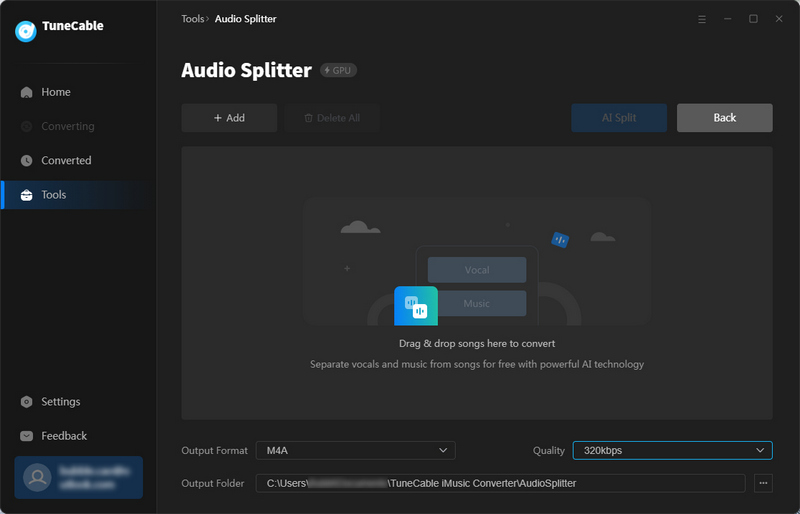
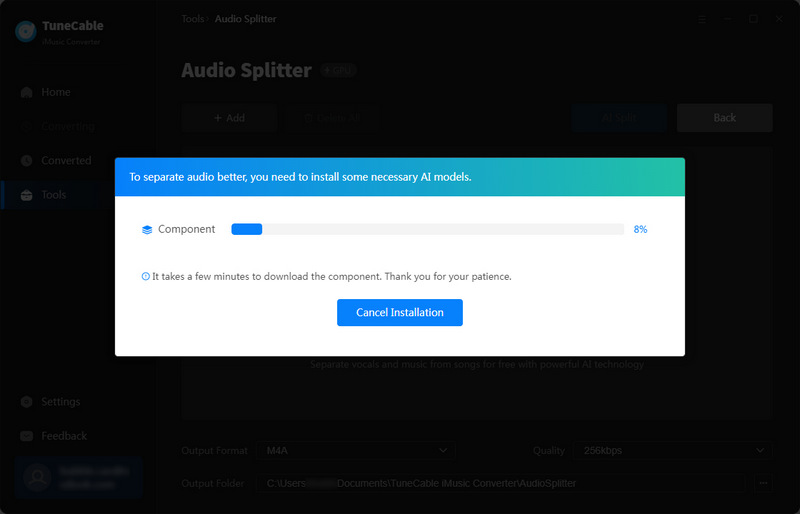
Step 2. The first time you use this tool, your permission to download and install some necessary AI models is required.
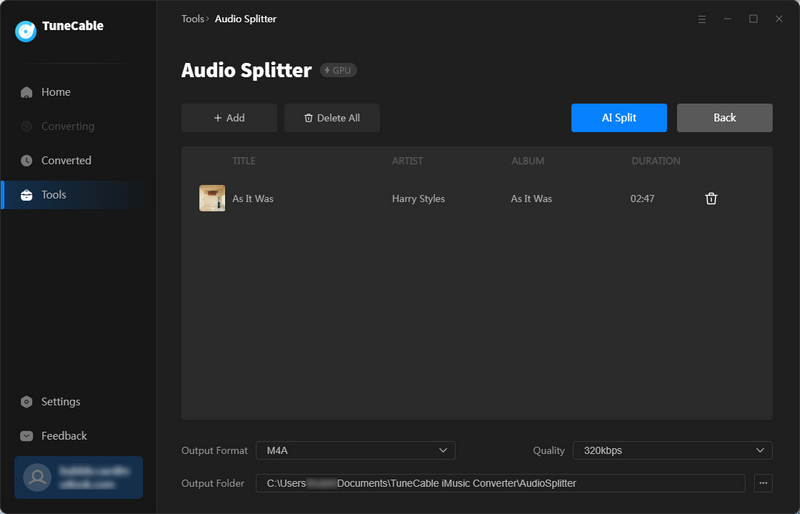
Step 3. After its installation, click "+Add" to import a song.
Step 4. You can set the output format, quality, and saving path in the lower area. After that, click "AI Split" to start splitting.
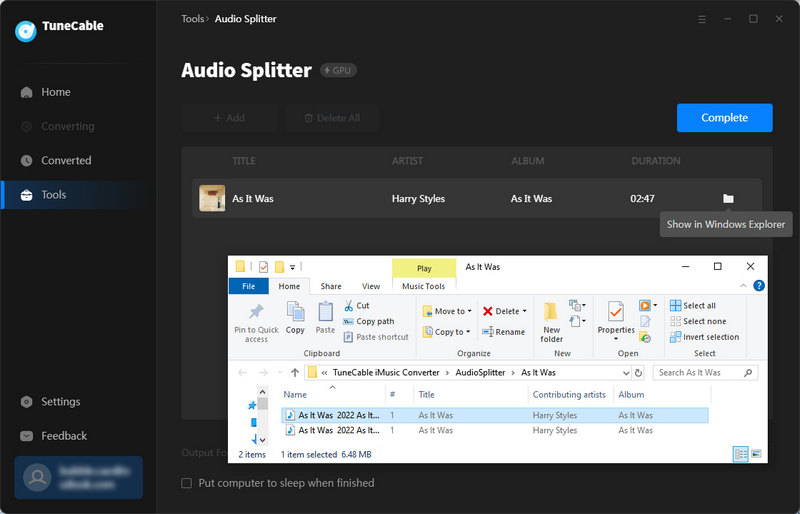
Step 5. After it completes, click the "folder icon" to orient you to the saving path.
Export to iTunes
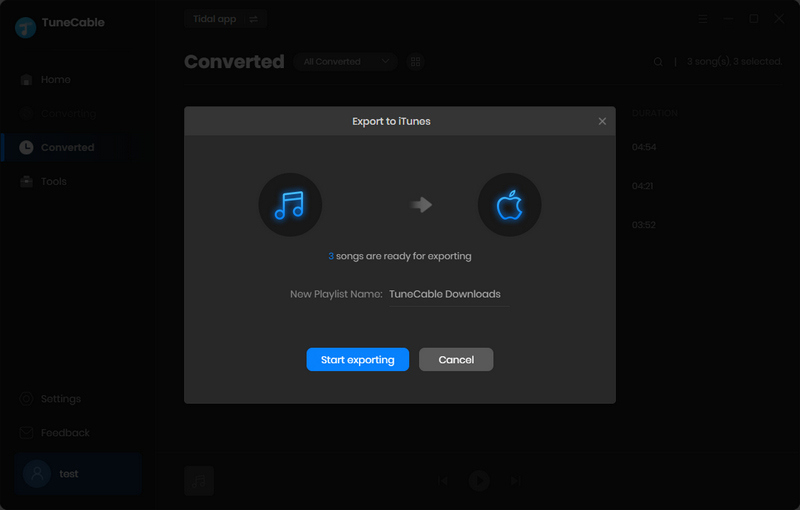
Except for the previous value-added tools, TuneCable gives you the simple operation to transfer the converted Tidal songs to your iTunes library.
Step 1. After the conversion is finished, navigate to the "History" section, pick the converted items, and select "Export to iTunes" after hitting on the four-square function icon.
Note: Before going to the "History" interface to export music to iTunes, please be sure to click "Complete" on the "Music" interface to end the task of downloading music. Otherwise, you will not be able to use the "Export to iTunes" tool. Also, please note that audio in FLAC format cannot be imported into iTunes.
Step 2. A popup will then appear. You can name this playlist as you wish. Then simply click on "Start exporting" to begin the transfer.
