Directory
 Download User Manual - TuneCable iMusic Converter
Part 1. How to Register TuneCable iMusic Converter
Step 1. Launch TuneCable iMusic Converter. Click on the avatar icon in the lower left of the sidebar. Or click the top-right "Menu" button and choose "Register" in the drop-down list, and you will get the registration interface.
Step 2. Copy and paste the Email and Code you receive in the email into the registration dialog, then click on the "Register" button.

Note: The registration info is case-sensitive. And, please do not add a blank at the beginning or the end of the word.
Part 2. How to Convert Apple Music to MP3, AAC, FLAC, WAV, AIFF, or ALAC
Video User Guide:
Step 1. Run TuneCable and Sign In Apple ID
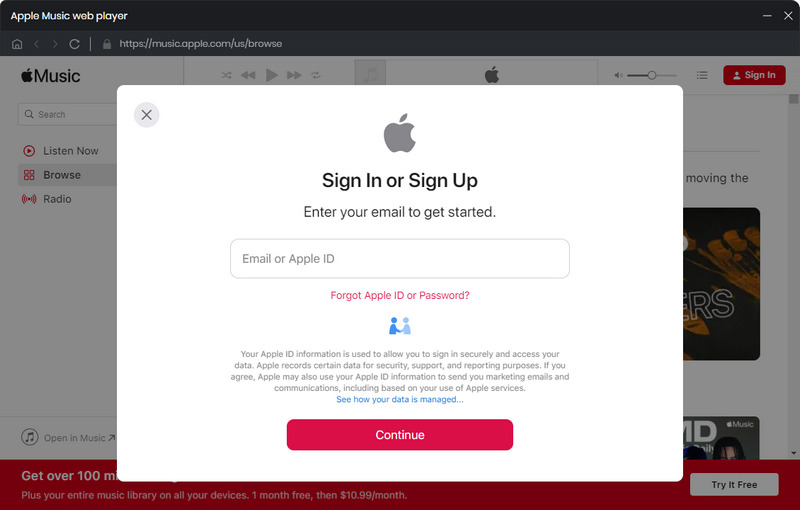
Open TuneCable iMusic Converter. The built-in Apple Music web player will be embedded within the converter by default. If you would like it to pop up as an independent window, just click "Pop out Player". Also, you can choose "Keep in Converter" to move it back. Then, you need to sign in to your Apple ID.

Note:
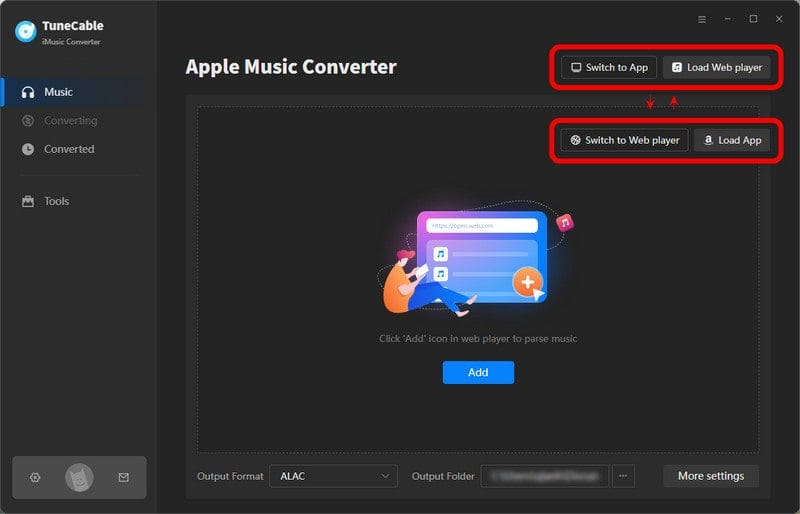
If you would like to download music from the iTunes app (Windows version) or Apple Music app (Mac version), please go to the top navigation bar and choose "iTunes App" or "Music App".

Step 2. Add Apple Music Songs to Convert
- • Adding Apple Music Songs from Apple Music Web Player to Convert:
On the Apple Music web player, browse the track, album, or playlist you want to download. Open it and click the "Click to add" button in the lower right corner.
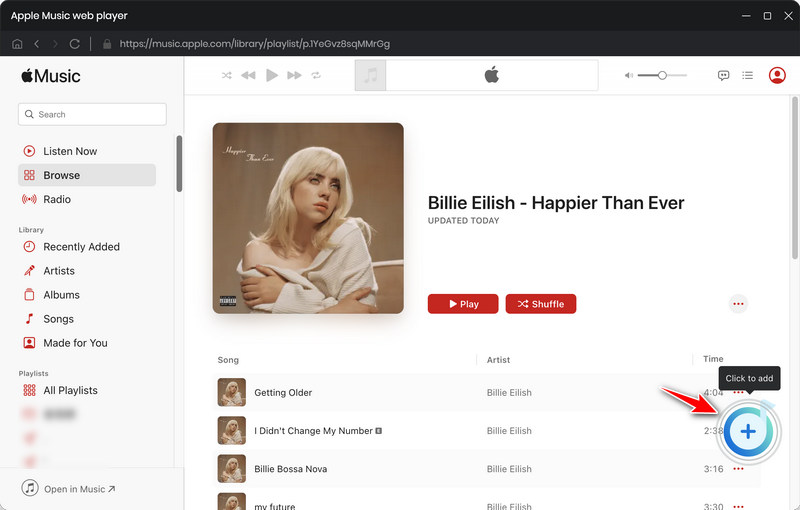
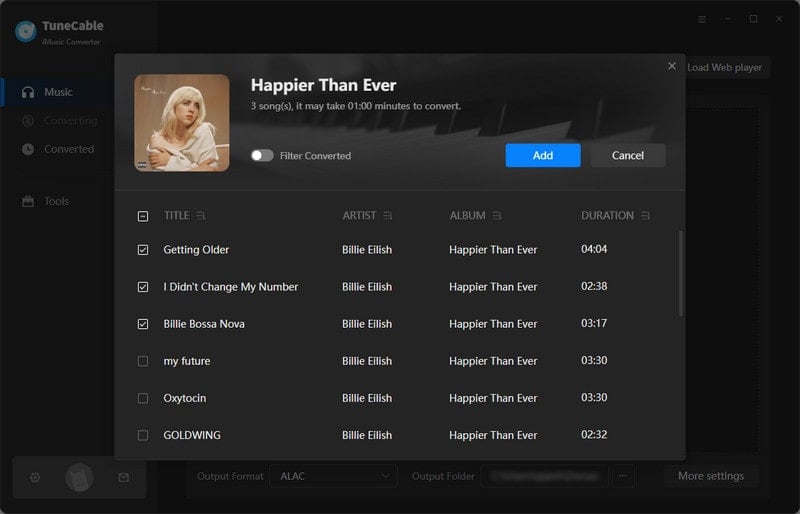
The system will automatically pop up the song analysis window, then select the specific songs you want to download, and click "Add" to add them to the download list.
- • Adding Apple Music Songs from Apple Music / iTunes App to Convert:
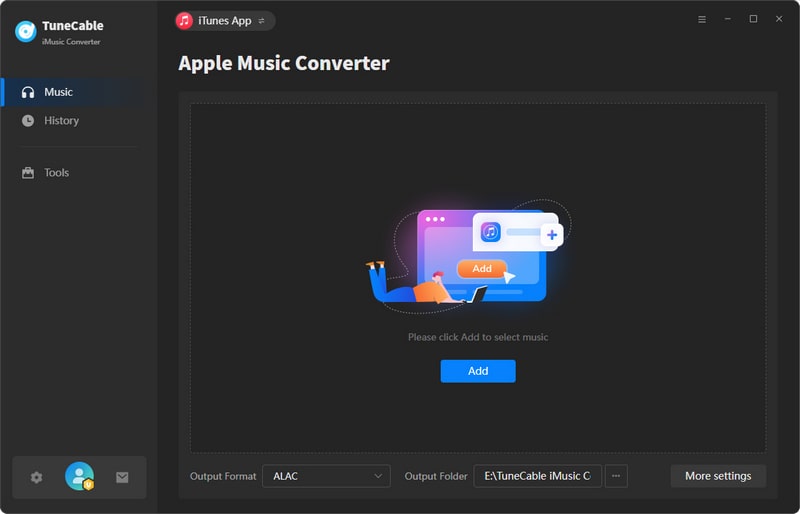
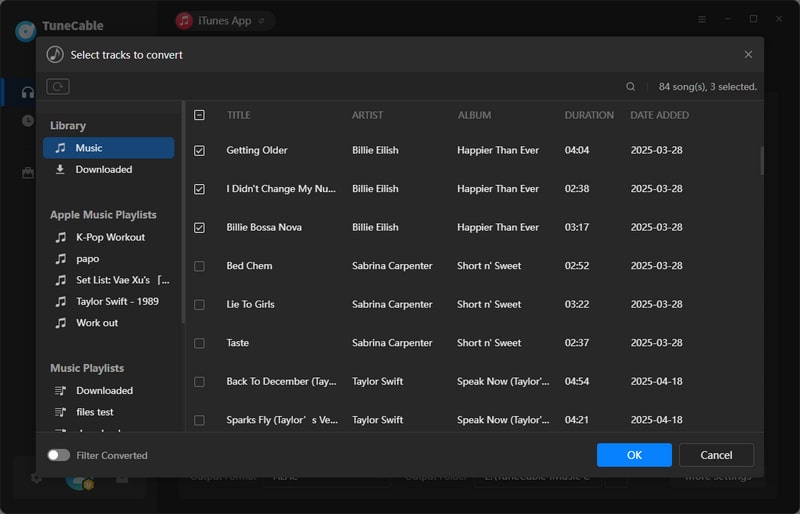
Tap on the "Add" button in the middle panel to load the songs or playlists. Then, choose the needed songs and click "OK" to add them to the download list.
Step 3. Adjust Output Settings for Apple Music
Before selecting Apple songs to download, go to the lower left corner to tap on the "Settings" icon. There you can adjust output settings as you like.
- Conversion Mode: Intelligent Mode, Record Mode, YouTube Mode
- Output Format: Recommended, MP3, AAC, WAV, FLAC, AIFF, ALAC
- Bit Rate: 128kbps, 192kbps, 256kbps, 320kbps (available for MP3, AAC)
- Bit Depth: 16 bit, 24 bit (available for WAV, AIFF, ALAC, FLAC)
- Sample Rate: 44.1kHz, 48kHz, 96kHz, 192kHz
- Output Folder: According to your preference
- Output File Name: Track Number, Title, Artist, Album, Playlist Index, Year
- Output Organized: None, Playlist, Artist, Album, Artist/Album, Album/Artist, Playlist/Artist, Playlist/Album
Note:
1. If you would like the output Apple songs to have the same audio format and quality as the source, simply select "Auto" as the output format and "Record Mode" as the conversion mode.
2. To download music from Apple Music app or web player, use Record Mode. If your network connection is unstable, switch to YouTube Mode to download the same song from YouTube. Intelligent Mode means TuneCable automatically switches between downloading music from Apple Music app / web player or YouTube based on your network condition.
3. To maintain playlist sequence in downloads, navigate to TuneCabe's lower left "Settings". Under "Output File Name", retain "Playlist Index" and "Title". In "Output Organized", select "Playlist".

Step 4. Begin to Convert Apple Music Songs
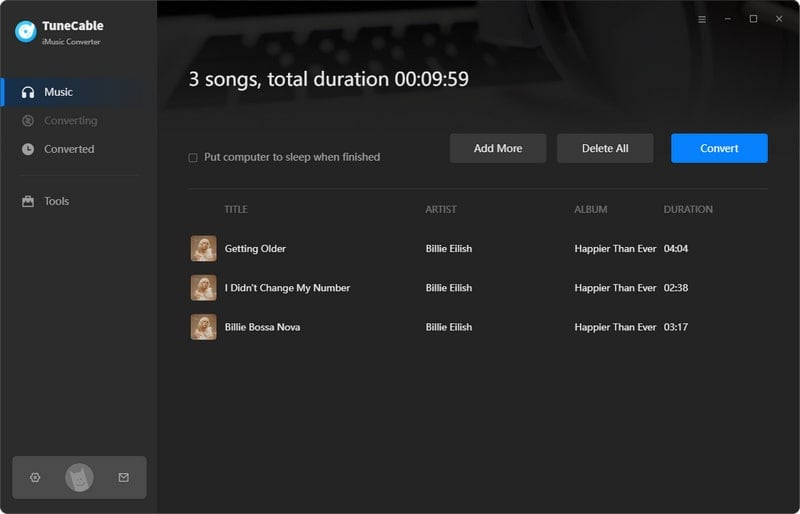
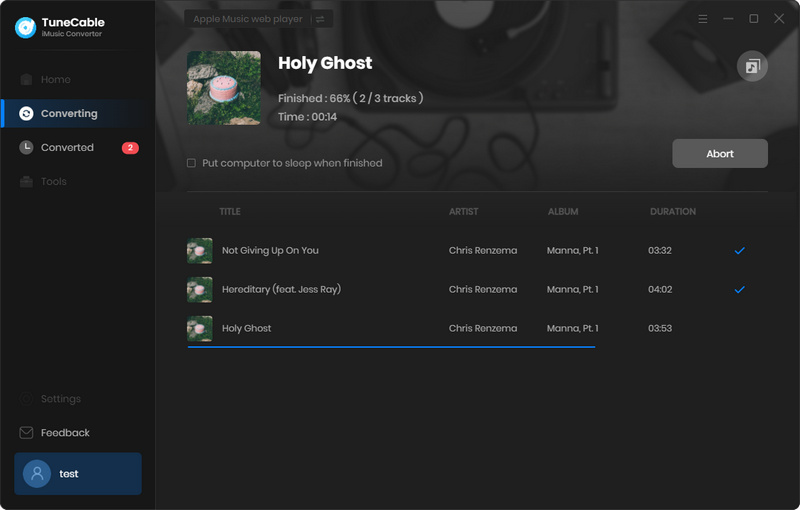
When you are going to download more songs, you can click on the "Add More" button and you can simply repeat the previous adding action. After all the songs are added, hit the "Convert" button to trigger the conversion at once.
Step 5. Check Converted Apple Music Songs
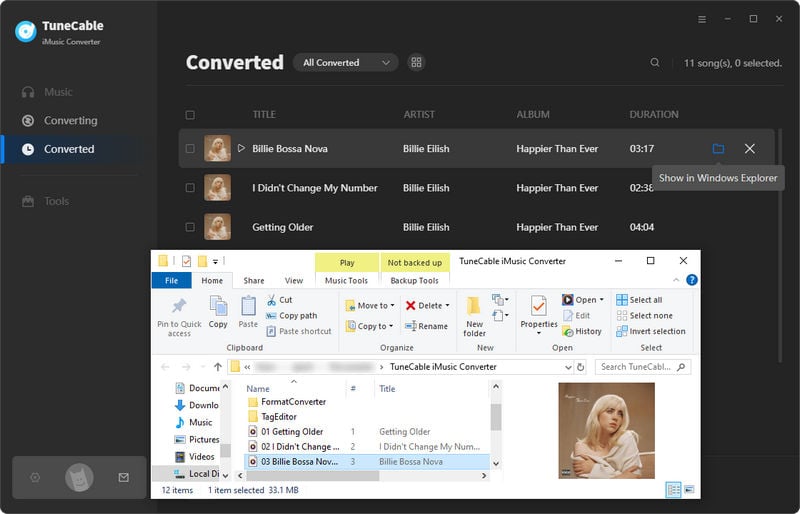
The conversion won't take too long as TuneCable can proceed with the songs at up to 10x fast speed. After it is done, you can check your download history from "History". Click on the file icon, you are navigated to the output folder.
