
TuneCable Apple Music Converter
Suffer from losing data when system crash or upgrade failure? Where can we backup our important data? Multiple choices, but external hard drive is the safest one among them. But if what you need to save is songs from Apple Music, thing turns impossible. Since even you can pay $9.99 per month for an individual account or $14.99 per month to get a family plan, which is up to six members, then download favorite songs. The download would be the equivalent of a data cache, which means that all songs will be invalid, when your subscription expires, or when you change another Apple ID.
In other words, any song from any of the streaming media server cannot be saved in other paths. The format of the songs are encrypted to protect the copyrights. In this way, to save Apple Music to an external hard drive, the first thing you should do is to convert and record them with professional tool. And here are the detailed steps.

The ultimate aim of saving the Apple Music to external hard drive is to transfer them to a computer, then migrate from computer to any supported media player, mobile phone or other devices in time of need. So the songs should be saved in normal and valid format. Only with professional 3rd tool can accomplish the task.
However, we are bombarded with different brands of audio recorders in the market, which one should be better? The all-in-one TuneCable iMusic Converter should be the best bet. With simple steps, you can perfectly record and export Apple Music as playable format with almost all ID3 tags and metadata kept after conversion. The exported format includes MP3, AAC, WAV, FLAC, AIFF, ALAC. Except for Apple Music, it can also decode M4A/M4B/AA/AAX audiobooks and iTunes M4P Music for playing without Wi-Fi or data.
🔹 Record iTunes songs/podcasts/audiobooks and Apple Music.
🔹 Convert Apple Music to MP3/AAC/WAV/FLAC/AIFF/ALAC.
🔹 Proceed iTunes audio at 10x speed with lossless quality.
🔹 Keep ID3 tag information like title, artist, album, etc.
🔹 Sort iTunes/Apple Music files by playlist, album, artist, etc.
🔹 Get tools (Format Converter, Tag Edit, etc.) & save lyrics.
🔹 Activate permanent playback of iTunes/Apple Music tracks.
🔹 Enable to transfer Apple Music tracks to any device for use.
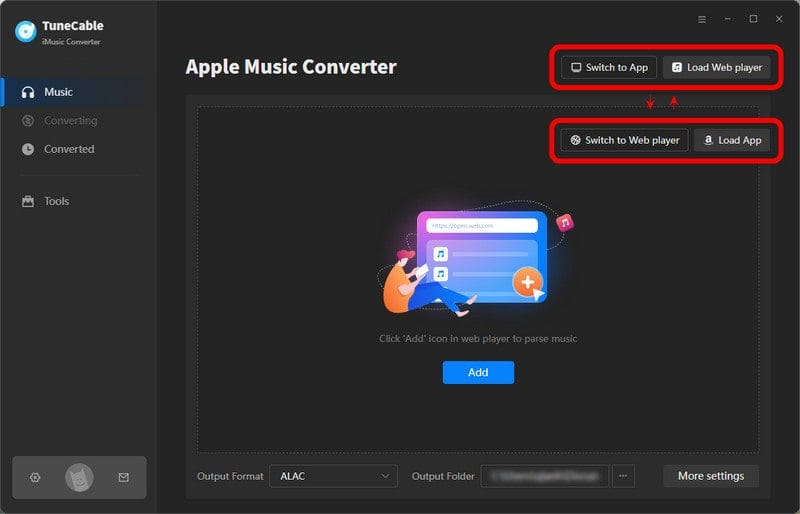
Step 1 Run TuneCable Apple Music Converter
First of all, launch TuneCable Apple Music Converter on your computer. You will then see the primary interface with two options. The app mode requires the Apple Music/iTunes app, while the web player mode works by accessing the Apple Music web player. But both modes can keep the original quality of Apple Music/iTunes songs, especially the app mode for Mac version can retain Apple lossless audio, up to 3,730kbps. Pick a mode as needed and sign in to your Apple ID to access the library.
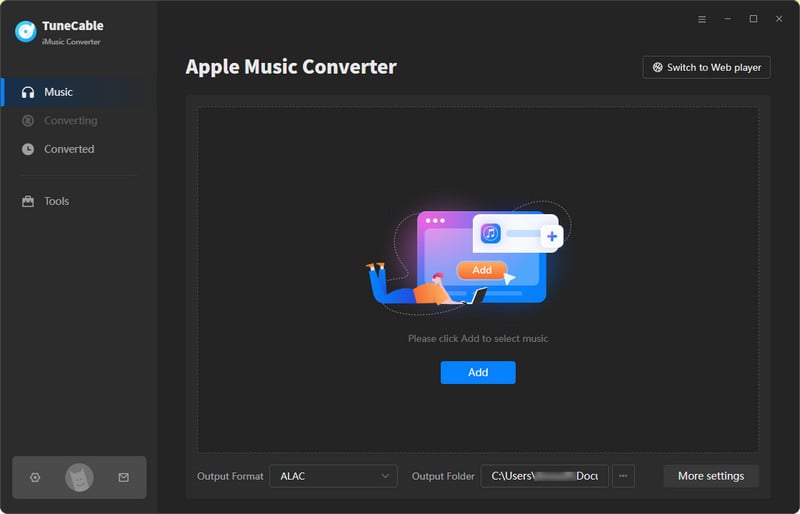
Step 2 Select Apple Music to Convert
If you use the app download mode, navigate to the "+Add" icon in the program interface to select Apple Music from iTunes Library into the TuneCable. To make sure your iTunes library can be properly read, you're supposed to:
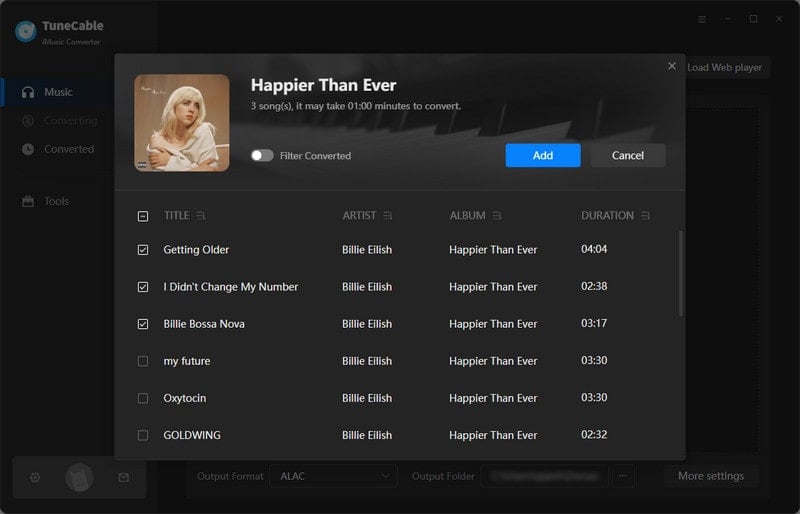
Once clicking the button, you will see a pop up window. The program will automatically scan and load the music in this list. Select one or more items that you would like to record and convert. Tap on "OK" button to the next step.
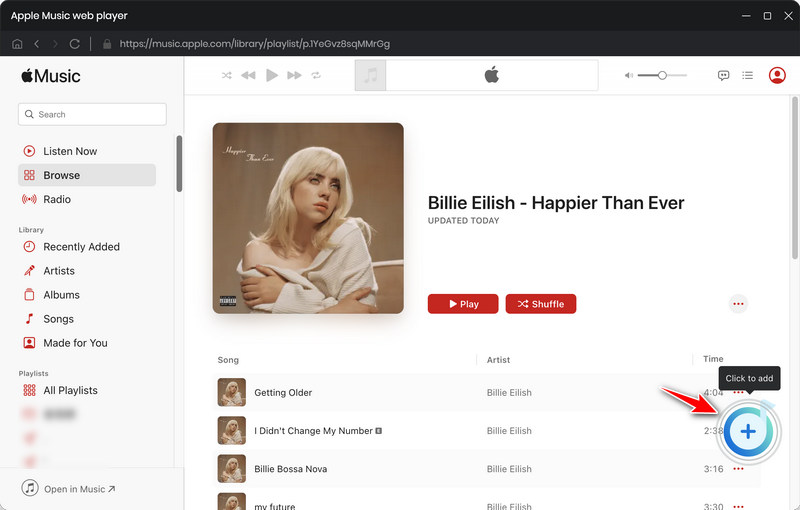
When you are using the app mode, open your target playlisy/album on the Apple Music web player and hit the "Click to add" button on the bottom right. The songs will be read and loaded on a popup. Check your songs and click on "Add" to confirm your selection.
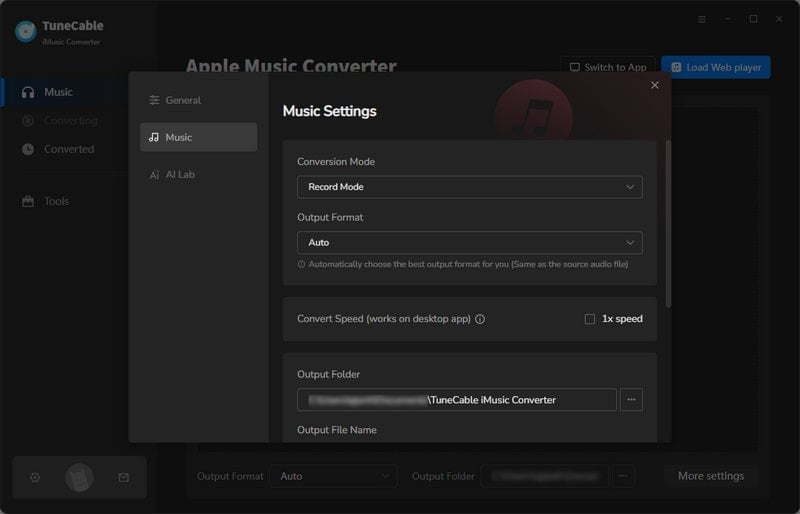
Step 3 Customize the Output Settings as Preferences
When jump to the new page, you can begin to change the settings as you like by hitting on the "Settings" tab in the left bar. Here are what you can change:
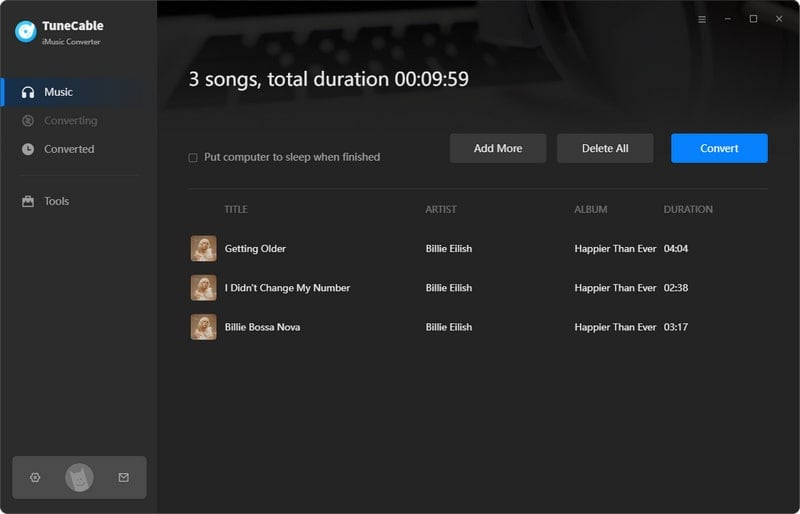
Step 4 View Well-recorded Songs and Put into External Hard Drive
Get the settings prepared, click on "Convert" button to export the songs as the format you chose. After finished transferring, check transferred in "History" section.
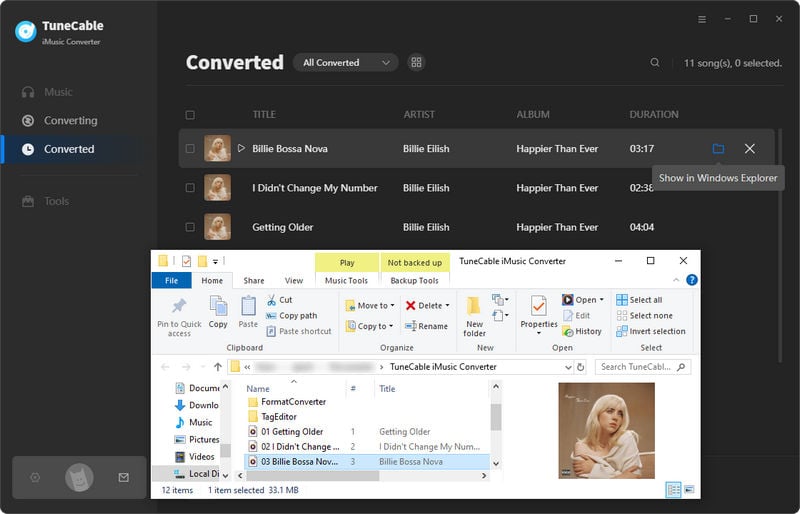
And now for the final touch, move your mouse to any of the converted song, a file icon will show up in the right. Click on it to launch a new window. Now open 'This PC' window, find your hard disk name under Devices and drives option. You’re free to copy & paste or directly drop & drag the folder or file to the external hard drive.
The method provided above is how to save Apple Music to an external hard drive. All you need is this powerful tool - TuneCable iMusic Converter, which helps you download Apple Music songs to local computers and convert Apple Music as MP3, AAC, WAV, FLAC, AIFF, ALAC files. After the conversion, Apple Music songs are saved as common audio files, and you can easily save on your external hard drive forever, regearless Apple Music subscription. Enjoy Apple Music now.
 What's next? Download TuneCable iMusic Converter now!
Download Apple Music, iTunes Music and Audible audiobooks with lossless quality kept.
Download music tracks from Spotify, Amazon Music, Apple music, YouTube Music, TIDAL, Deezer, etc.
Recover lost 1000+ types of files from disks, partitions, hard drives, SD cards, and other external devices.


